
← Back to All Ideas
Variations
Variation 1
Visual variation will be added in the variation-image pass.
Visual variation will be added in the variation-image pass.
Variation 2
Visual variation will be added in the variation-image pass.
Visual variation will be added in the variation-image pass.
Craft Idea
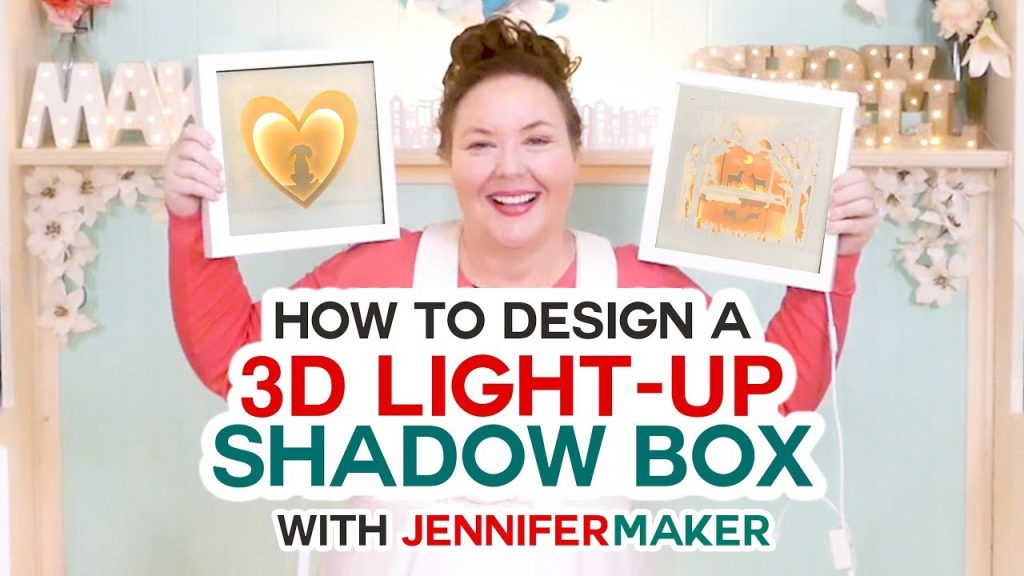
DIY Custom Shadow Boxes: How to Design Your Own!
▶ Watch on YouTube
Channel: Jennifer Maker
Project Details
At a Glance
LayersMultiple stacked cardstock layers
DimensionsVaries by frame
InteractiveNo
PrintableNo
Technique FocusCricut, Shadow Box
A tutorial for designing and assembling custom layered paper shadow boxes with a Cricut.
About This Project
A tutorial for designing and assembling custom layered paper shadow boxes with a Cricut.
What You'll Love
Saved for the layered dimensional effect and the method for creating a custom shadow-box design from scratch.
Key Techniques Used
- Cricut
- Shadow Box
Main Supplies
- Cardstock in several colors
- Cricut cutting machine
- Cutting mat
- Foam tape or spacers
- Adhesive
- Shadow box frame
- Optional LED lights
Project Tags
Color Palette
Soft White
Warm Beige
Red
Printables
No printable is associated with this Craft Idea.
My Notes
The key idea is spacing and stacking cut layers. Keep as one complete shadow-box technique and project reference.
Related Ideas
Related ideas will appear here as the library grows.